


In our previous article, we went through various ways to manipulate the DOM..
In this article, we will be communicating with the server. In our case, we would like to see some Kanye West tweets displayed on our web page from the server. The goal is: whenever a user is on our web page, the tweets should be loaded quickly, and users should not able to see the background process that involves fetching data from an API. To achieve this, we will use AJAX.
What is AJAX?
The Asynchronous JavaScript and XML(AJAX) approach uses a number of existing technologies together:
HTML or XHTML and CSS for presenting information.
Document Object Model (DOM) for dynamically interacting with and displaying the presented information.
XMLHttpRequest object to manipulate data asynchronously with the web server.
XML, HTML, and XSLT for data interchange and manipulation.
JavaScript for binding data requests and information display.
A combination of these technologies in the AJAX model makes web applications to be quick and make updates to the user interface without reloading the entire browser page. One of the ways we can achieve this is by using fetch().
What is fetch()?
A fetch function or fetch API provides an interface for fetching resources.
It provides a generic definition of request and response objects and related concepts such as CORS and HTTP Origin header semantics.
The fetch() method takes in one mandatory argument, the patch, to the resource you want to fetch. This returns a promise that resolves to the response of that request.
To use data returned by the fetch(), we chain the then() method.
What is then()?
This method returns a promise. It takes two arguments: a callback function for the success and failure of the promise.
Implementation
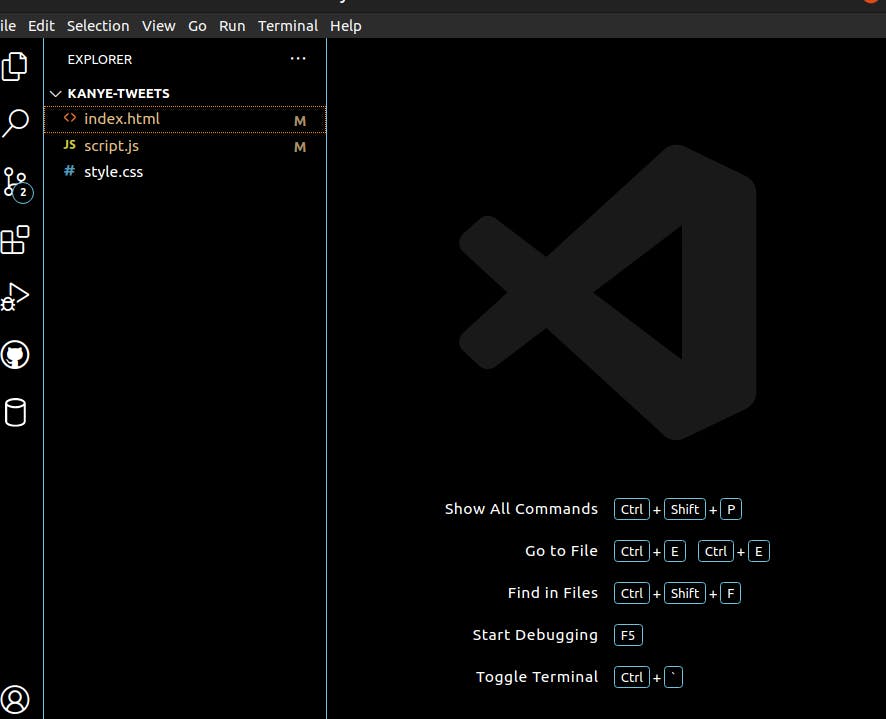
File structure
We will be using the DOM to display our response from the API. Our file structure will have HTML, CSS, and JavaScript files, as shown below.
Calling data from the API
The Application Programming Interface(API) is a mechanism that enables the transmission of data between one software and another. We provide a string argument to our fetch() method to get the Kanye tweets from the API. The then() method takes in a function and tells our network to make the response JSON.
The JavaScript Object Notation(JSON) is a standard text-based format for representing structured data based on JavaScript object syntax.
Implementation
fetch("https://api.kanye.rest")
    .then(function(response){
        //we console log the response that is returned by the API
        console.log(response)
        // we make sure that the response is in JSON format
        return response.json();
    })
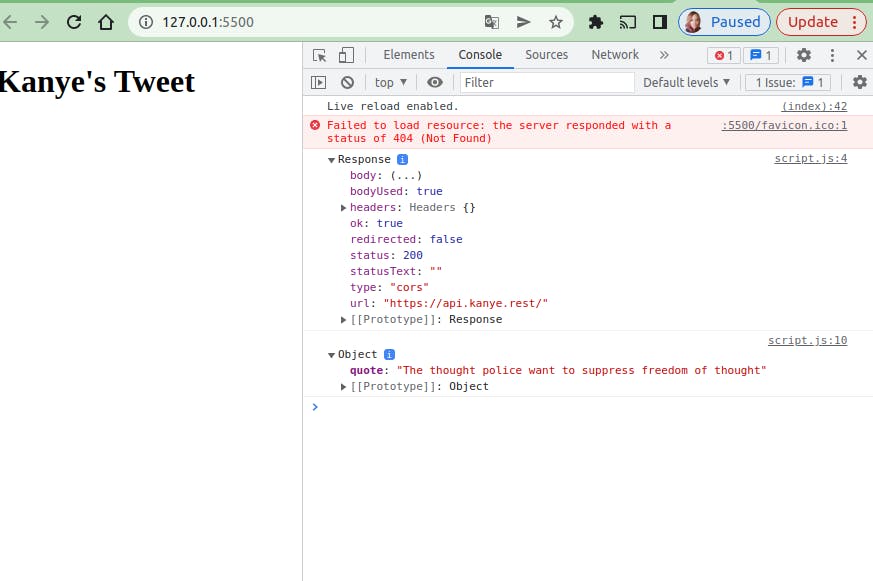
The second then() is used when we have received our JSON response to allow us to perform some actions on it. At this moment, let's return the data to our console just to ensure we have no errors so far.
fetch("https://api.kanye.rest")
    .then(function(response){
        //we console log the response that is returned by the API
        console.log(response)
        // we make sure that the response is in JSON format
        return response.json();
    })
    .then(function (json){
        // outputs the json returned from the first JSON
        console.log(json)
    });
Output
Clean up code
ES6 JavaScript allows us to use arrow functions , which are a compact alternative to a traditional function expression as we used above.
We will also use an if ... else conditional statement that allows us to show output in our console in case of an error fetching the data from the API or displaying the JSON data fetched.
Implementation
fetch("https://api.kanye.rest")
      .then((response) => {
        // add a condition to check if the response is okay
        if(response.ok){
            return response.json();
        } else {
            // display if there's no response
            throw new Error("NETWORK RESPONSE ERROR")
        }
    })
    // display the JSON response
    .then(data => {
        console.log(data);
        // display our data into a function
        displayTweet(data)
    })
    //display any error encountered while getting the JSON data
    .catch((error) => console.error("FETCH ERROR:", error));
Output

We also implemented hoisting in the above code, which allows functions to be safely used in a code before it's declared. In our case, it's the displayTweet function.
The code below shows the displayTweet function declaration.
 function displayTweet(data){
    console.log(data);
}
Output

Our goal is to use the DOM to display the tweets since most of our code will be in our JavaScript file. We add an empty div to the HTML file as shown; it will later be populated using the DOM manipulation.
<!DOCTYPE html>
<html lang="en">
<head>
    <meta charset="UTF-8">
    <meta http-equiv="X-UA-Compatible" content="IE=edge">
    <meta name="viewport" content="width=device-width, initial-scale=1.0">
    <link href="style.css" rel="stylesheet" type="text/css">
    <title>Kanye-Tweets</title>
</head>
<body>
    <h1 id="heading">KANYE TWEETS</h1>
    <div id="root"></div>


    <script src="script.js"></script>
</body>
</html>
Inside our displayTweet function, we use the dot notation to access the quote. The reason we do this is that, as mentioned earlier, JSON resembles a JavaScript object; hence we use property accessors to provide access to an object's properties which in our case is the quote.
  function displayTweet(data){
       //declare a variable tweet to store the quote.
       // we use the dot notation to access the quote
       const tweet = data.quote;
}
We need to ensure that we access the div we created earlier, add a paragraph, and finally, add a quote to the paragraph we created. To do this, we implement this as shown below:
function displayTweet(data){
       //declare a variable tweet to store the quote.
       // we use the dot notation to access the quote
       const tweet = data.quote;
       // we access the div with an ID root
       const tweetDiv = document.getElementById("root");
       // we create a p element inside the div
       const text = document.createElement("p");
       // we make the paragraph created above a child element of the root div
       tweetDiv.appendChild(text);
       // we store the quote contents in the paragraph
       text.innerHTML = tweet;
   }
Output

Let's style our output to make it more appealing.
// script.js
     // style the body
        tweetDiv.style.backgroundColor = "#0077b6";
        tweetDiv.style.height = "100px";
        tweetDiv.style.width = "100%";
        tweetDiv.style.alignContent = "centre";
        tweetDiv.style.marginTop = "10%";
        text.style.color = "white";
        text.style.textAlign = "center";
        text.style.position = "absolute";
        text.style.marginLeft = "20px";
        text.style.fontSize = "30px";
        text.style.marginLeft = "10%";
        text.style.marginRight = "10%";
// style.css
body{
    background-color: #caf0f8;
    word-wrap: break-word;
}
#heading{
   margin-top: 5%;
   margin-left: 35%;
   font-size: 50px;
   color: #03045e;
}
Final output

Conclusion
This API is great for a beginner. The API automatically refreshes itself after a few seconds. In our next article, we will create an API with nested objects that allows us to manipulate and implement more DOM functionalities using CRUD. Here's the live link to this project kanyetweets.netlify.app.