


DOM manipulation is using JavaScript to add, modify, and remove HTML elements.
If you are unfamiliar with the javascript DOM, please read my previous article that you can find on this link.
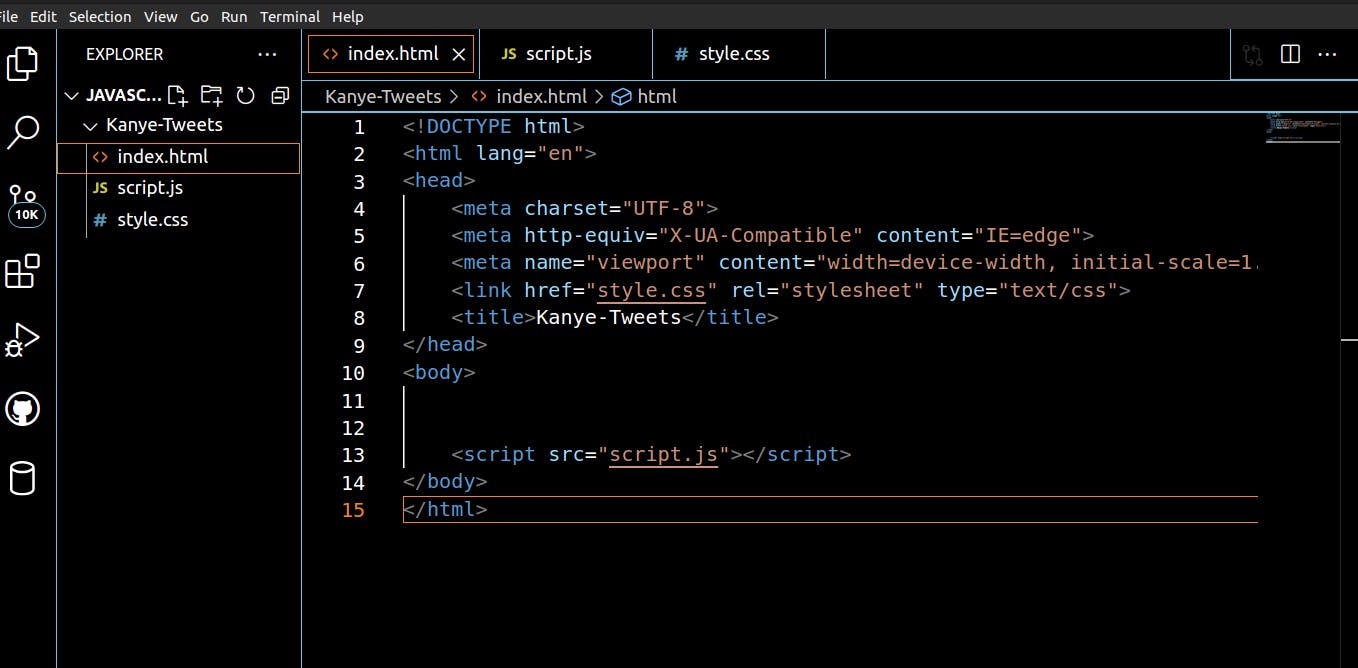
In this tutorial, I assume that you have created and linked the HTML, CSS, and JavaScript files in a folder that will house the files.
Example of a folder with all the files defined above
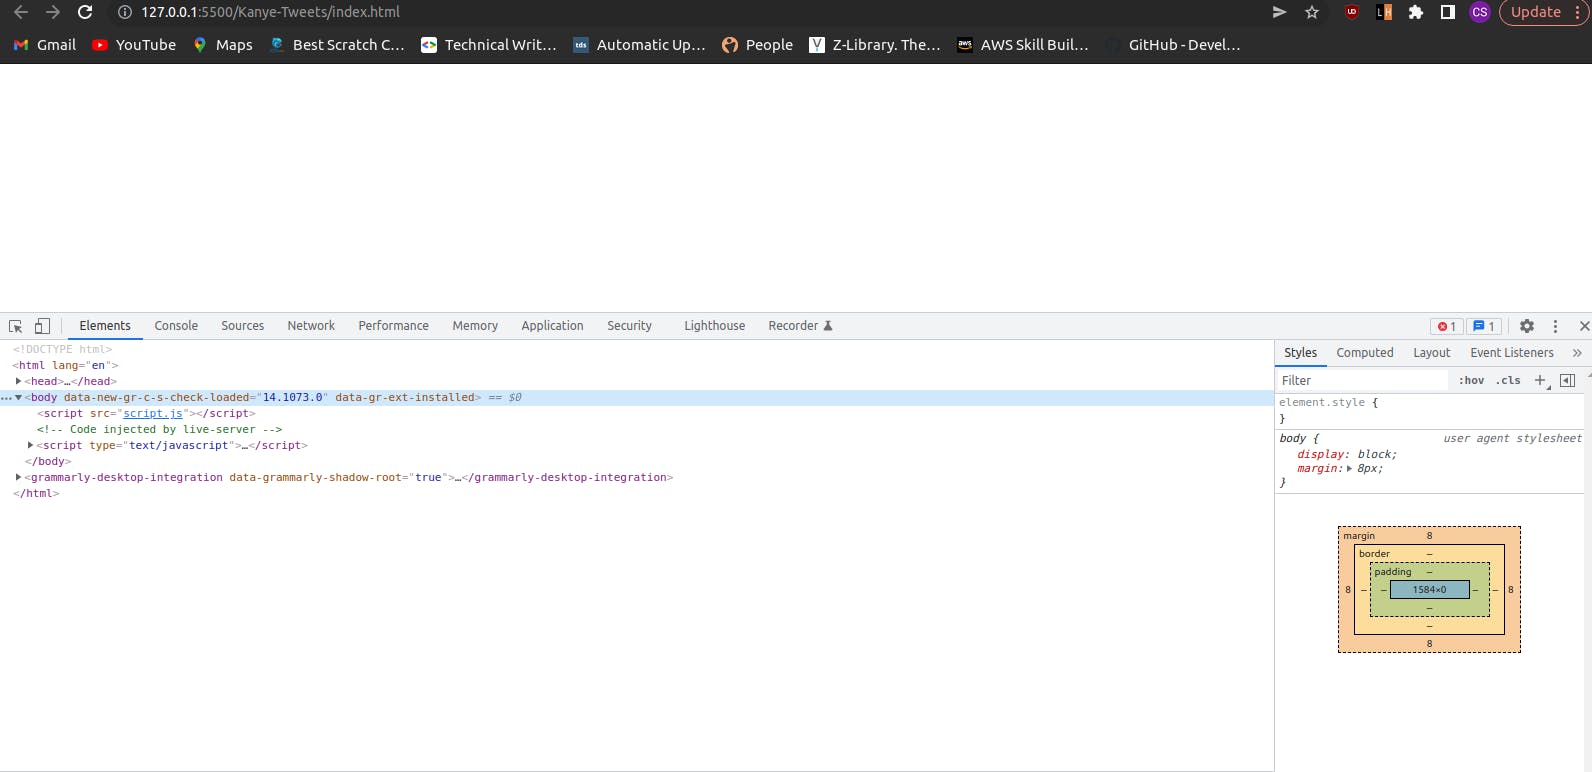
Inspecting the DOM
It's important for us to know how to see any errors our code displays or any elements we add to the DOM. To successfully achieve this, we will be using the DevTools in our Chrome browser, which can be accessed using the Ctrl + Shift + I command.
For an empty project, e.g. the image below, we use the command above to see the elements we have in our index.html.
Finding HTML Elements
Our goal is to access, manipulate and append HTML elements using Javascript. To achieve this, we have to find an element we need from the HTML file. To do this, we normally give our HTML elements classes or id attributes to make it easier to find a node.
Implementation
<div class="heading">Shopping List</div>
<li id="list_items">Car</li>
Finding a Node
JavaScript defines a few ways of finding DOM nodes by using the document object.
Three of the most popular ways in their order of importance are:
getElementByID()
getElementsByClassName()
getElementsByTagName()
document.getElementById()
This is the quickest method to find and access a node, it requires the HTML element id, and since id's are unique to every element, it only returns one element.
Syntax
getElementById(id)
Implementation
Given the HTML code :
<html>
<head>
  <title>getElementById example</title>
</head>
<body>
  <p id="para">Some text here</p>
  <button onclick="changeColor('blue');">blue</button>
  <button onclick="changeColor('red');">red</button>
</body>
</html>
The JavaScript Code
function changeColor(newColor) {
  const elem = document.getElementById('para');
  elem.style.color = newColor;
}
document.getElementsByClassName()
This method finds elements by their className. Class names do not need to be unique and hence this method returns an HTMLCollection which is an array-like structure with a list of elements.
Syntax
getElementsByClassName(names)
Implementation
document.getElementsByClassName('test')
document.getElementsByTagName
This method is used when we don't know an element's id or class name, but we know its tag name; since tag names are not unique, we return an HTMLCollection.
Syntax
getElementsByTagName(tagName)
Implementation
const p = secondChild.getElementsByTagName("p")[0];
Finding Nested Nodes
To find a nested node, we use these two methods:
querySelector()
querySelectorAll()
querySelector()
This method takes one argument, a string of one or more CSS-compatible selectors, and returns the first Element within the document that matches the specified selector or group of selectors. If no matches are found, null is returned.
Syntax
querySelector(selectors)
Implementation
Given HTML code:
<div id="items"></div>
Given JavaScript code:
const list_items = document.querySelector("#items");
list_items;
querySelectorAll()
This method accepts a string containing one or more selectors as its arguments. It returns a Nodelist collection of all matching elements. The NodeList will be an array-like structure containing a list of dom nodes.
Syntax
querySelectorAll(selectors)
Implementation
const texts = document.querySelectorAll("p");
Creating DOM elements
To create an element in JavaScript, we use the document.createElement() method. We pass any valid HTML tag as a parameter.
Adding elements to the DOM
We can use append() and innerHTML to be able to add and see an element displayed in the DOM.
append()
This method inserts a set of Node objects or string objects after the Element's last child.
Important points to note about the append:
Allows you to append string objects.
Has no return value.
Can append several nodes and strings.
Syntax
append(param1)
append(param1, param2)
append(param1, param2, /* … ,*/ paramN)
Implementation
Example 1
const ul = document.createElement("ul");

for (let i = 0; i < 3; i++) {
  const li = document.createElement("li");
  li.textContent = (i + 1).toString();
  ul.append(li);
}

element.append(ul);
Example 2
let div = document.createElement("div")
let p = document.createElement("p")
div.append("Some text", p)
innerHTML
This property gets or sets the HTML or XML markup contained within the element.
Implementation
Given the HTML code:
<ul id="list">
  <li><a href="#">Item 1</a></li>
  <li><a href="#">Item 2</a></li>
  <li><a href="#">Item 3</a></li>
</ul>
The JavaScript implementation is:
const list = document.getElementById("list");

list.innerHTML += `<li><a href="#">Item ${list.children.length + 1}</a></li>`;
This process is not recommended for various reasons:
It's more error-prone, and the errors can be difficult to find.
It can have a negative impact on site performance.
It exposes a site to the risk of users injecting malicious code.
Changing properties of DOM nodes
We can change the appearance of a DOM using the style attribute.
Implementation
const element = document.getElementById("main");
element.style.height = "300px";
element.style.backgroundColor = "#27647B";
Removing elements from the DOM
removeChild()
As the name implies, this method removes a child node from the DOM and returns the removed node.
Syntax
removeChild(child);
Implementation
Given this HTML code:
<div id="top">
  <div id="nested"></div>
</div>
To remove a specified element when knowing its parent node:
let d = document.getElementById("top");
let d_child = document.getElementById("nested");
let deleteChild = d.removeChild(d_nested);
element.remove()
This method calls the remove method on itself.
Syntax
remove()
Implementation
const element = document.getElementById('list-items');
element.remove(); // Removes the div with the 'list-items' id
JavaScript Events
JavaScript has the ability to "listen" for things that happen inside the browser. It can listen for events like whether the browser is resized or whether someone clicked on a specific image on the screen.
There are different types of JavaScript events; to learn more, click on this link.
Creating Event Listeners on DOM Nodes
To handle an event in JavaScript, we use the addEventListener() method on the element we want to add the listener to. We pass two arguments to it:
The name of the event to listen for.
A callback function to "handle" the event.
Syntax
addEventListener(type, listener);
Implementation
const input = document.getElementById('input');
input.addEventListener('click', function() {
  alert('I was clicked!');
});
DOMContentLoaded event
It's important to make sure that our code runs at the right time.
The DOMContentLoaded event fires when the initial HTML document has been completely loaded and parsed, without waiting for stylesheets, images, and subframes to finish loading.
This event can be listened to by the Window interface.
Syntax
addEventListener('DOMContentLoaded', (event) => {});

onDOMContentLoaded = (event) => { };
Implementation
window.addEventListener('DOMContentLoaded', (event) => {
    console.log('DOM fully loaded and parsed');
});
Load event
The load event fires when a resource and all its dependent resources (including CSS and JavaScript) have finished loading.
Syntax
addEventListener('load', (event) => {});
Implementation
window.addEventListener('load', (event) => {
  console.log('page is fully loaded');
});
I hope this article has helped you understand how to manipulate the DOM. In the next article, we will communicate with a server, fetch data, and display it on our browser using the DOM.